


Products & Troubleshooting
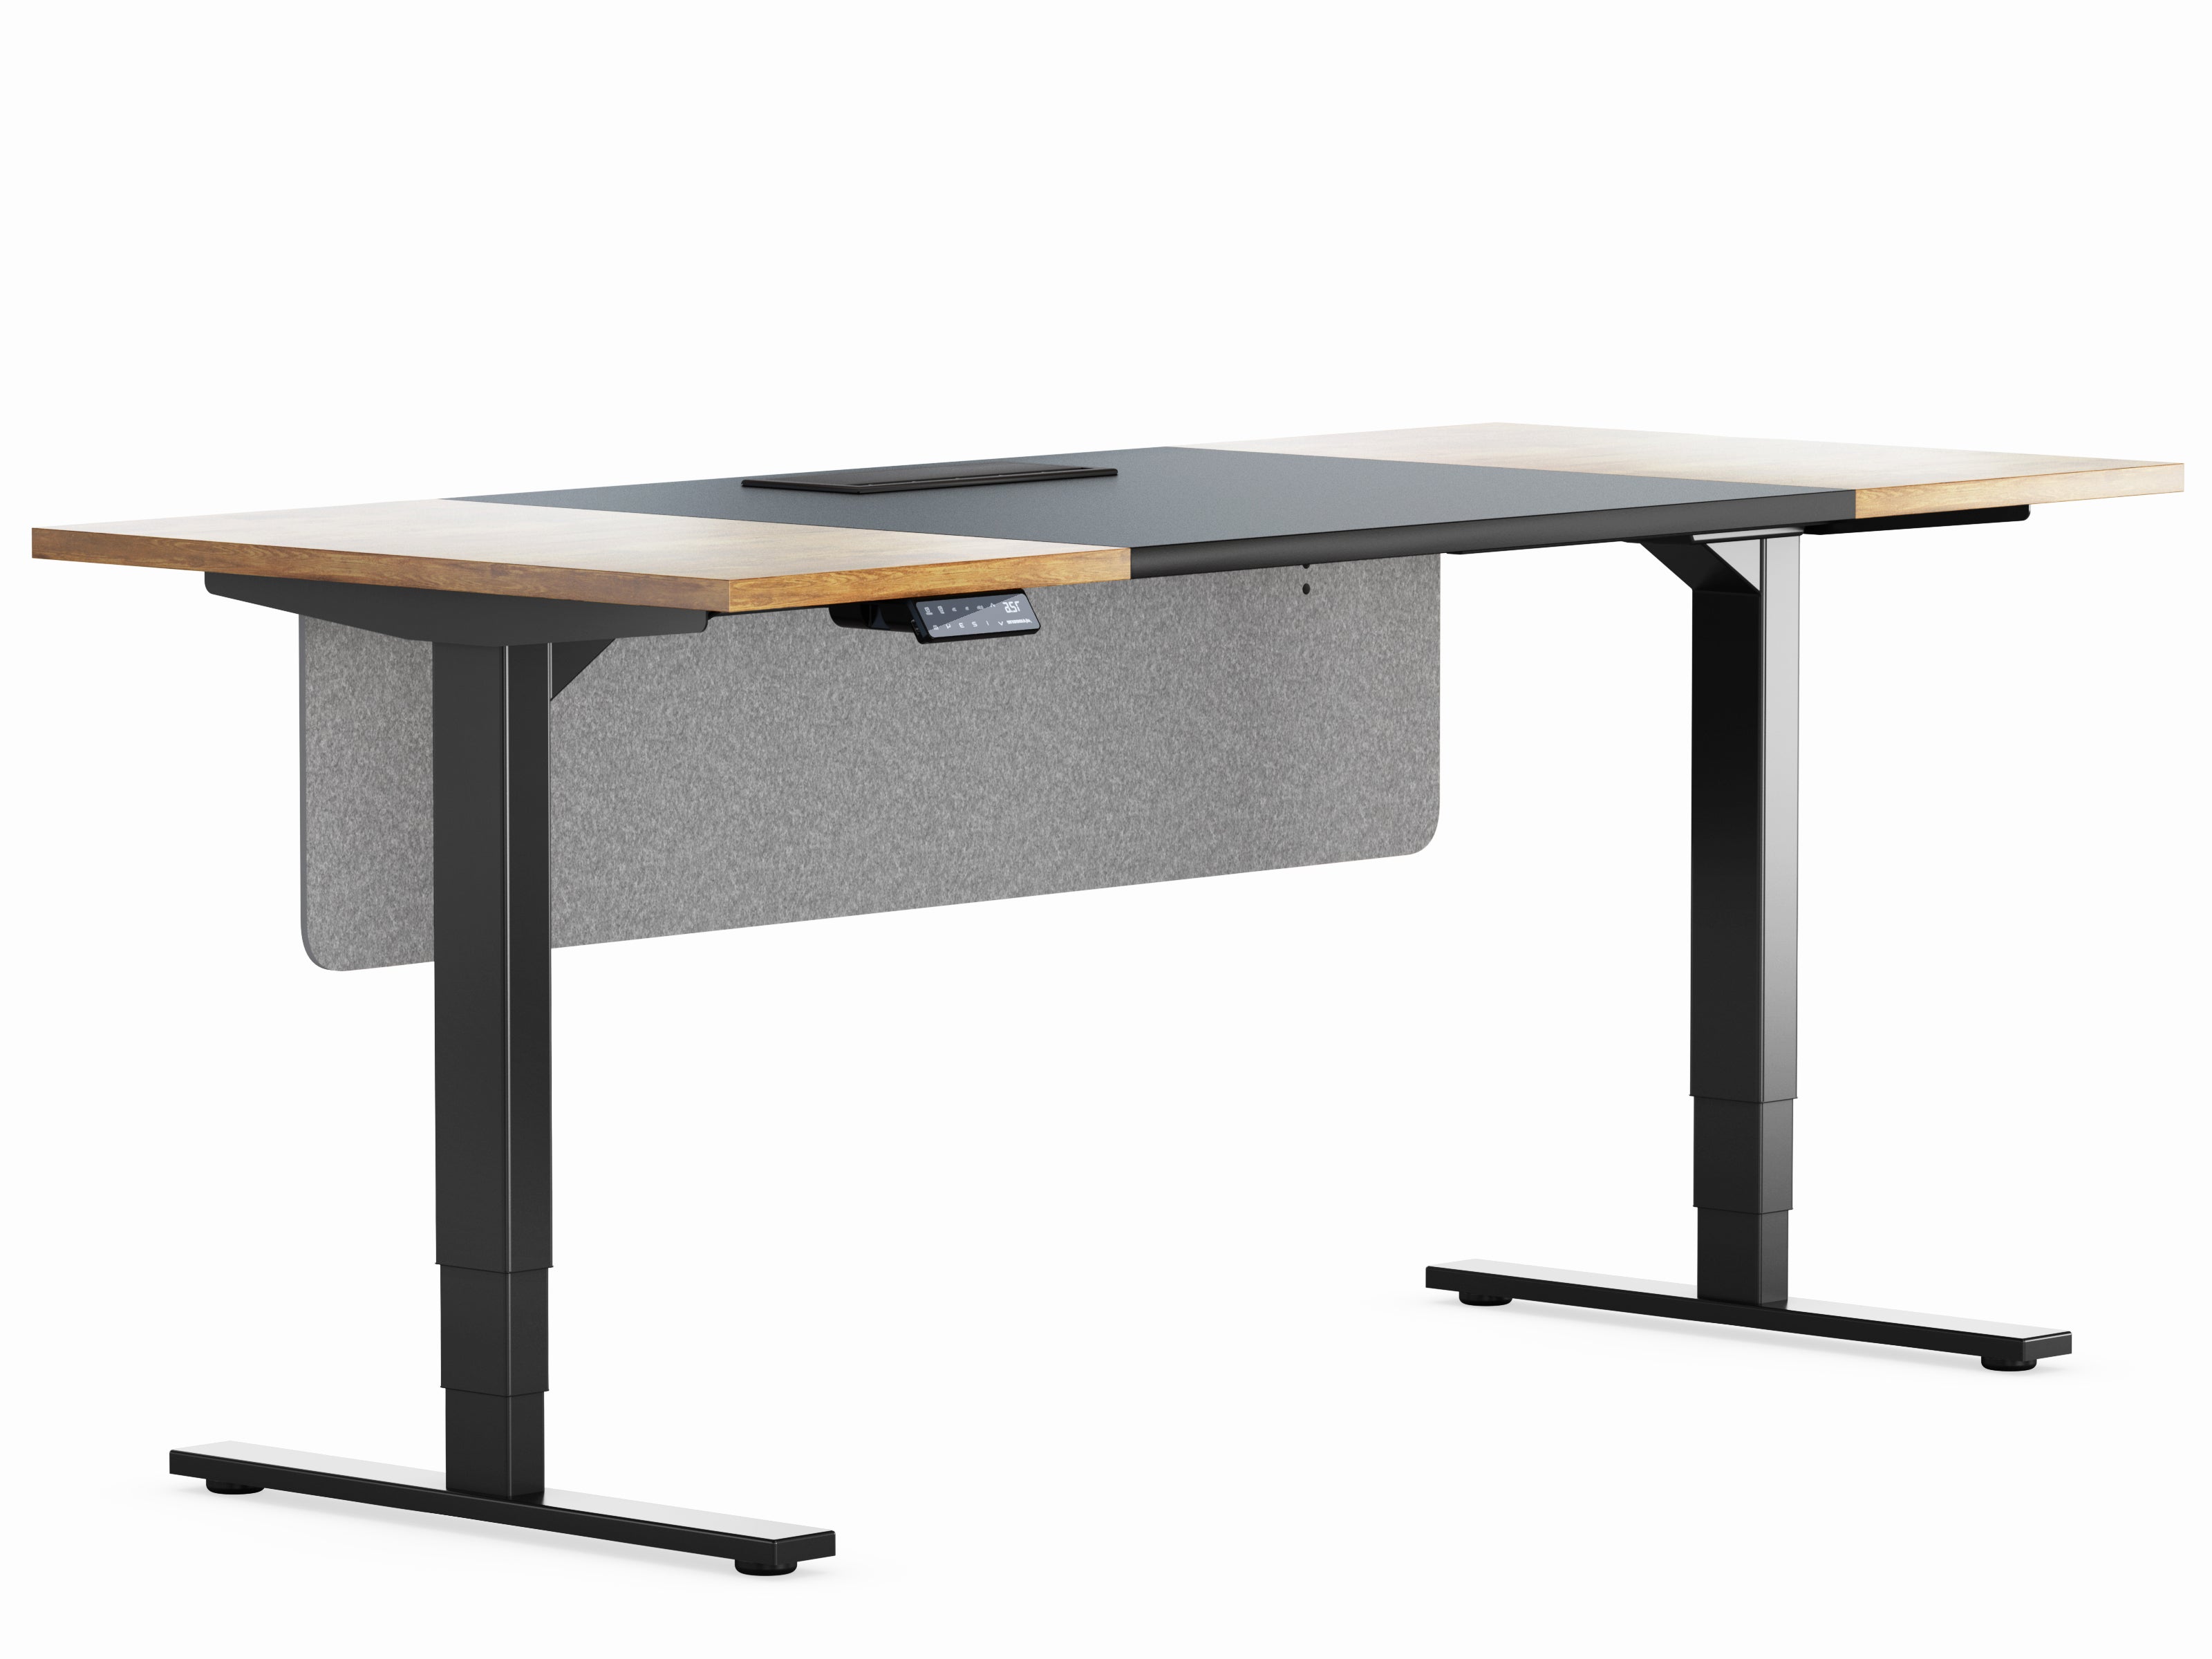
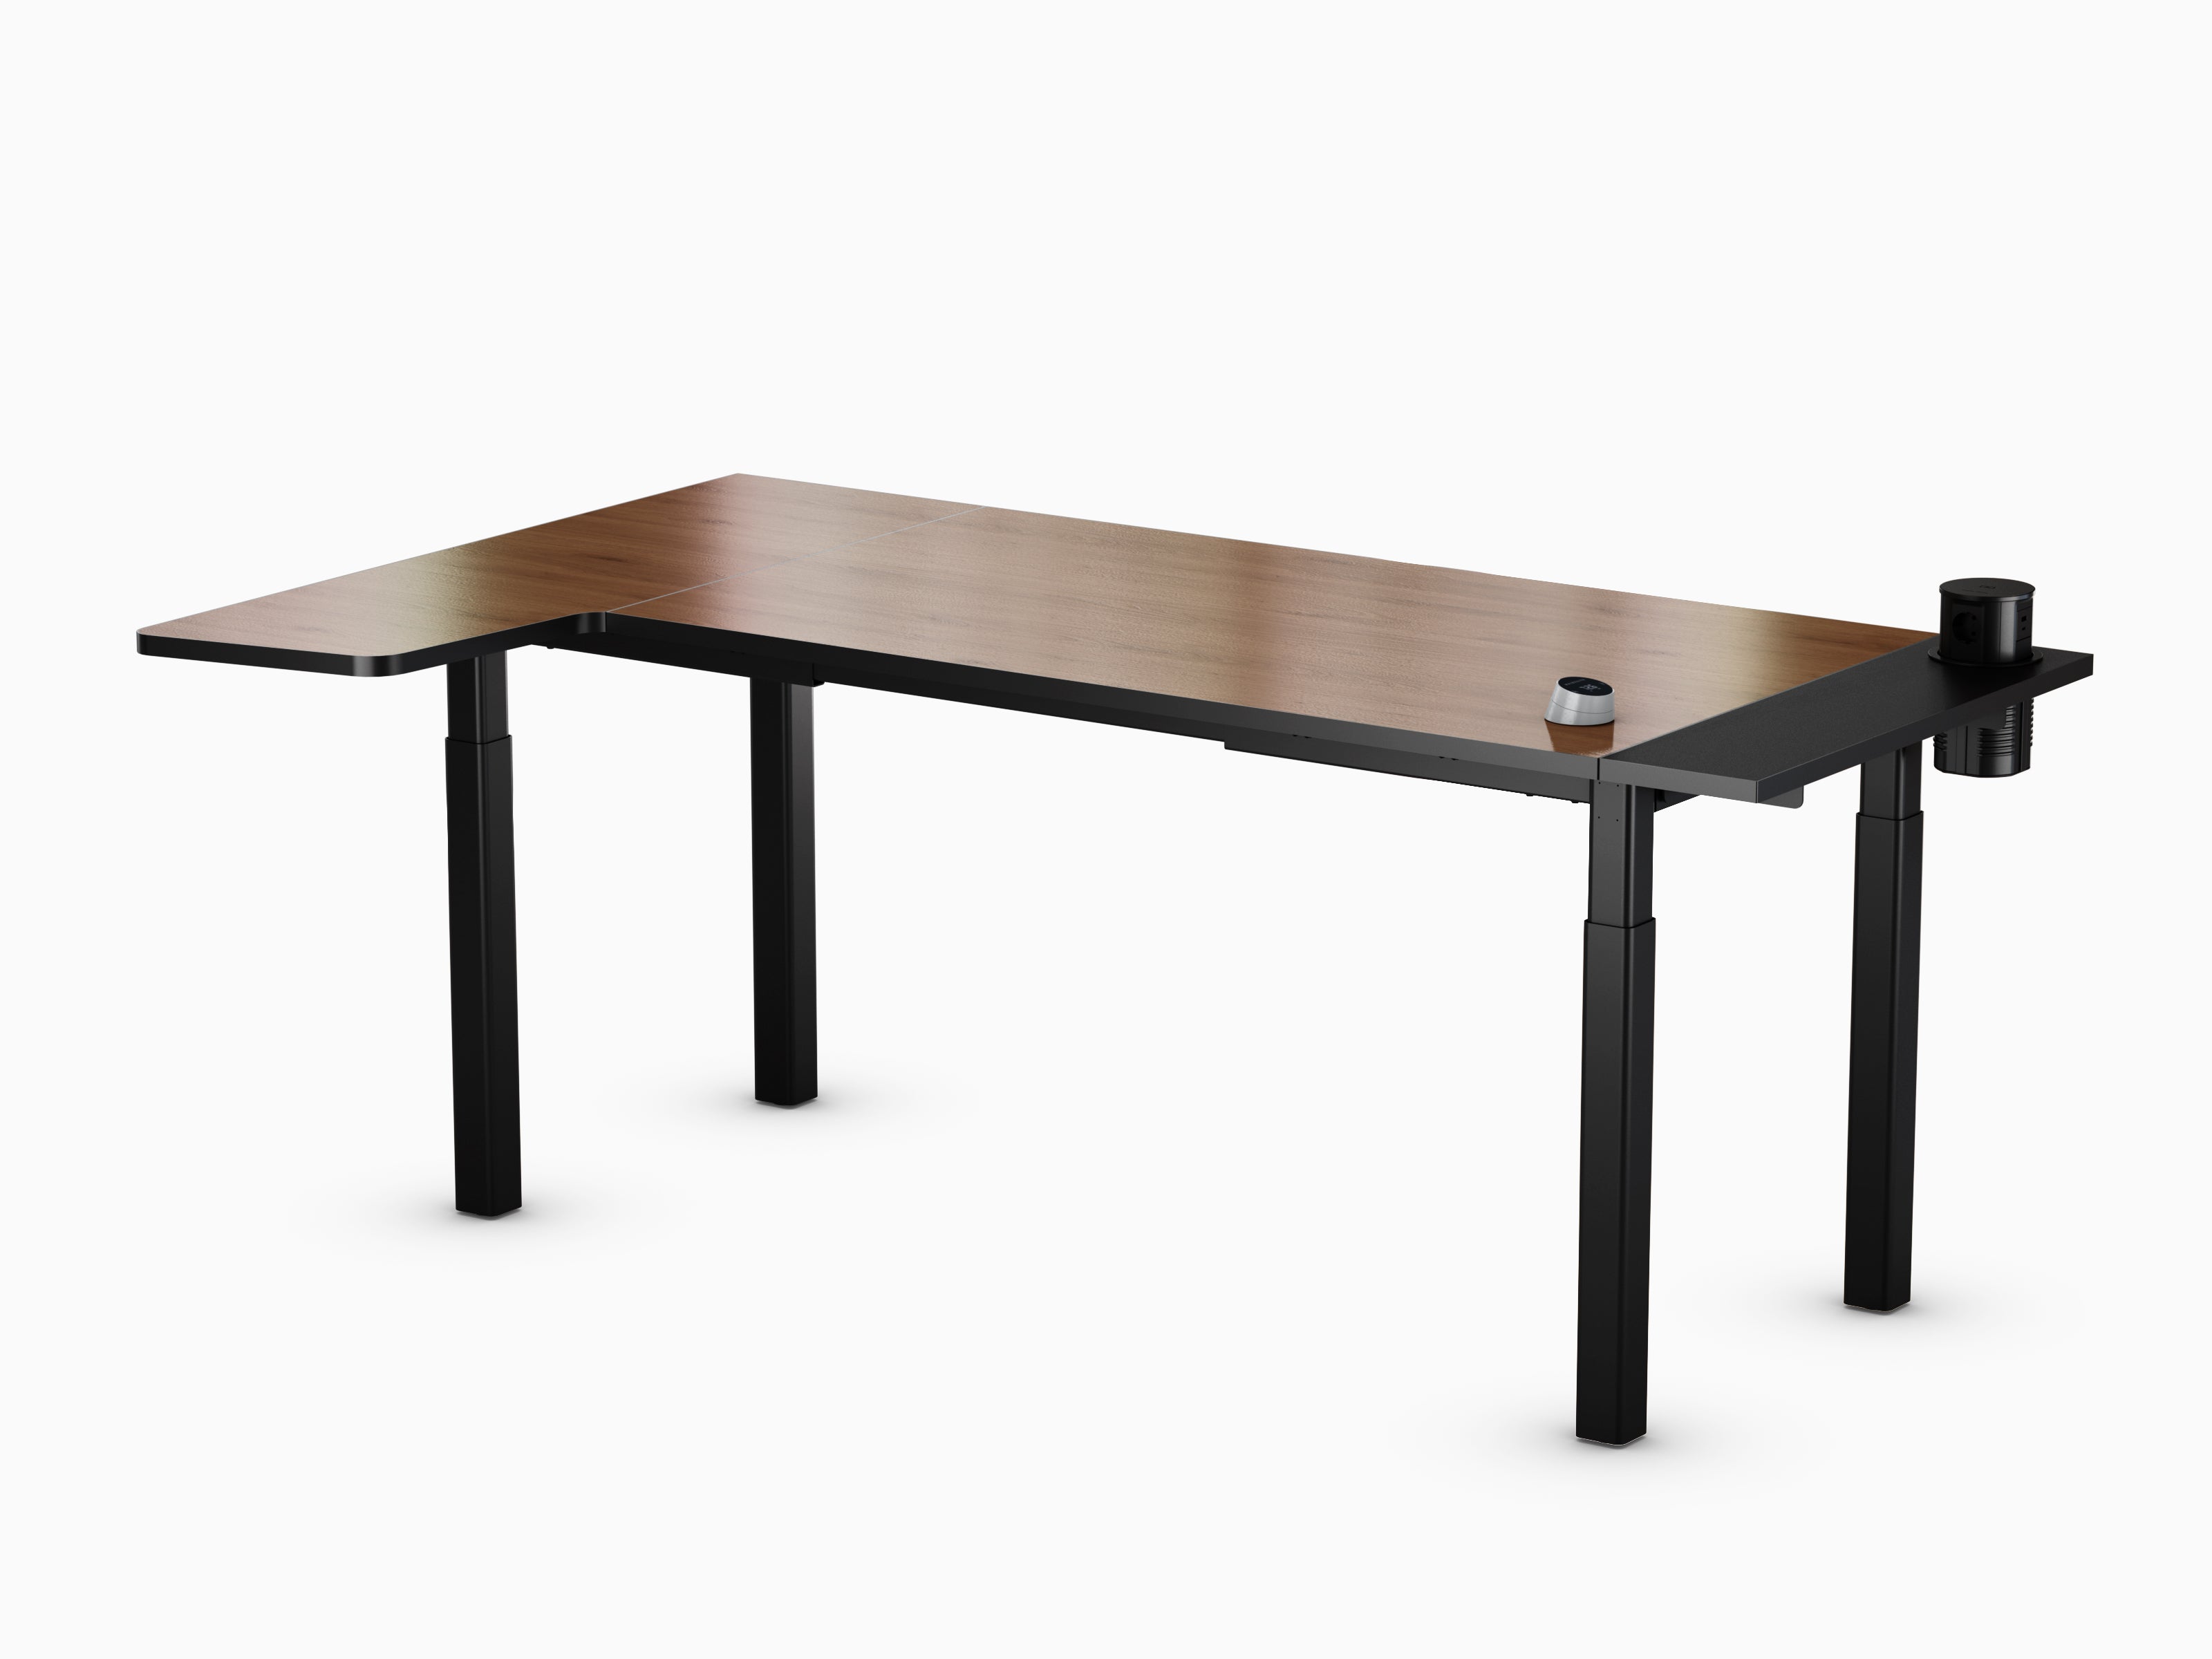
T1 PRO Product Installation Guide
📘 T1 Pro – Installation Guide
Here you will find a simplified installation guide for the T1 Pro.
For a detailed step-by-step explanation, you can also download the complete manual (PDF).
🛠️ Required tools
- Phillips screwdriver
- Allen key (included)
- tape measure
📦 Check the scope of delivery
Please ensure that all parts are included in the package:
- 2 table legs
- 2 feet
- 1 crossbeam
- Control unit + cable
- manual transmission
- Screws & Accessories
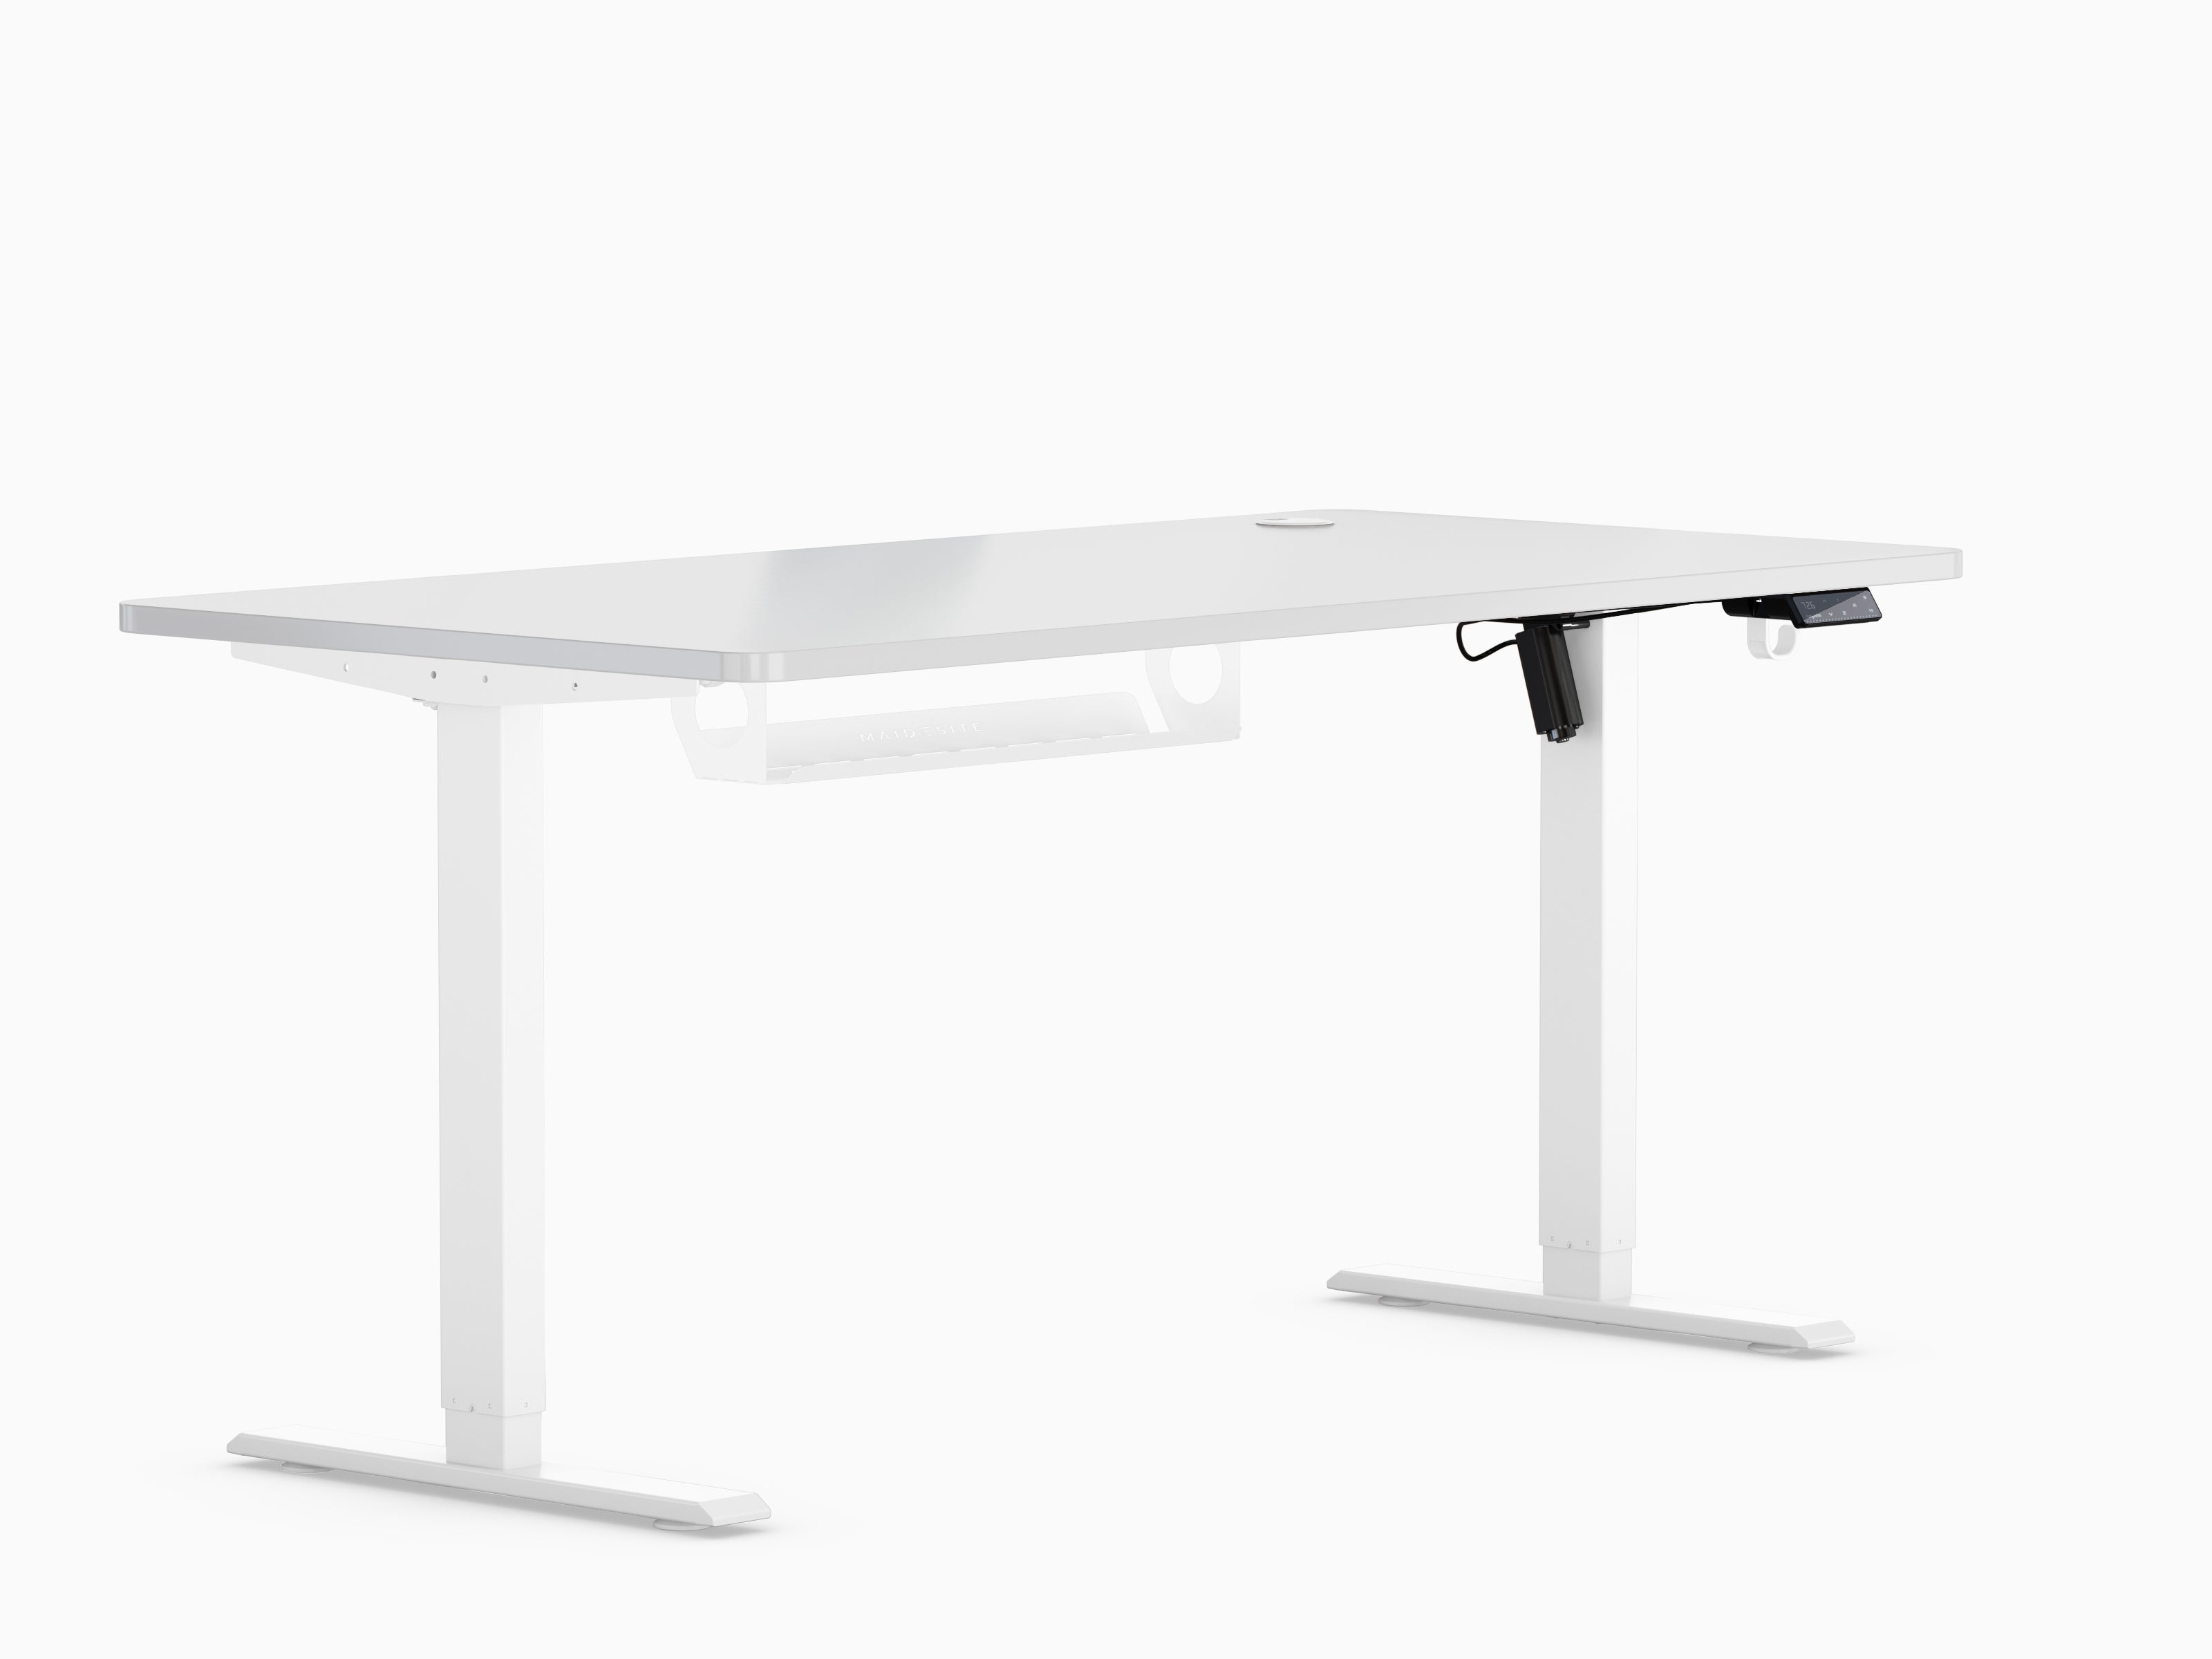
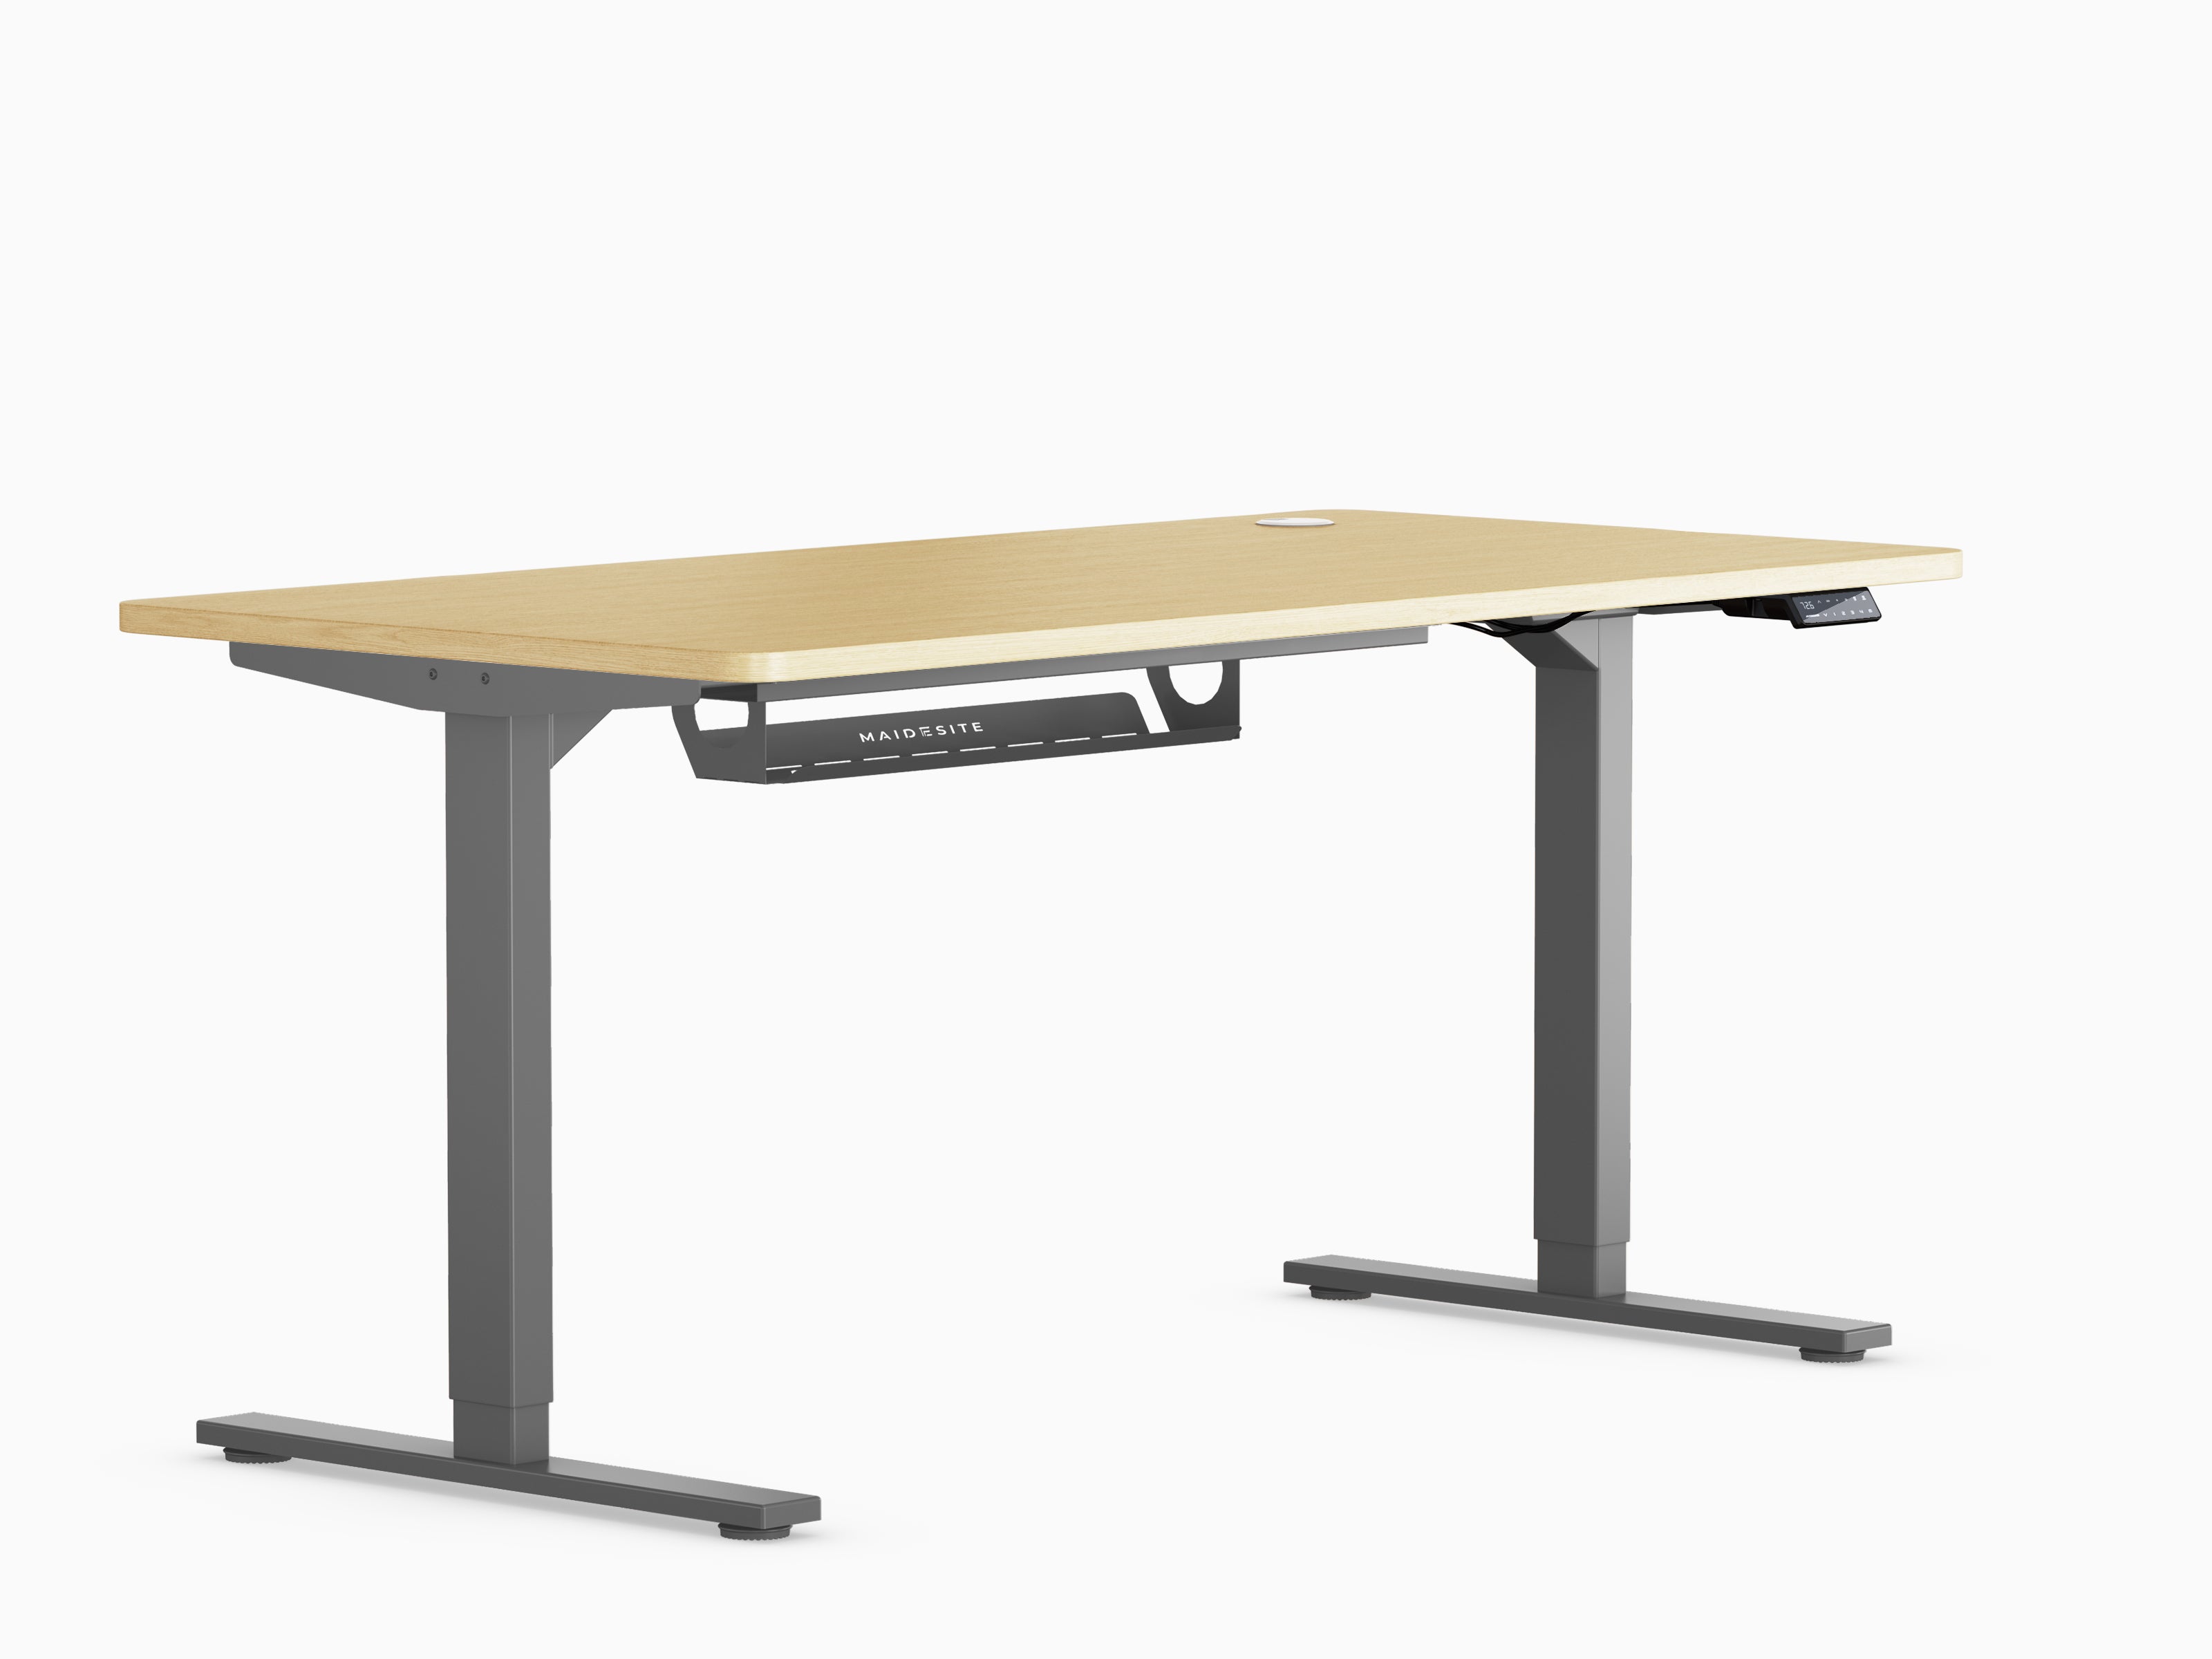
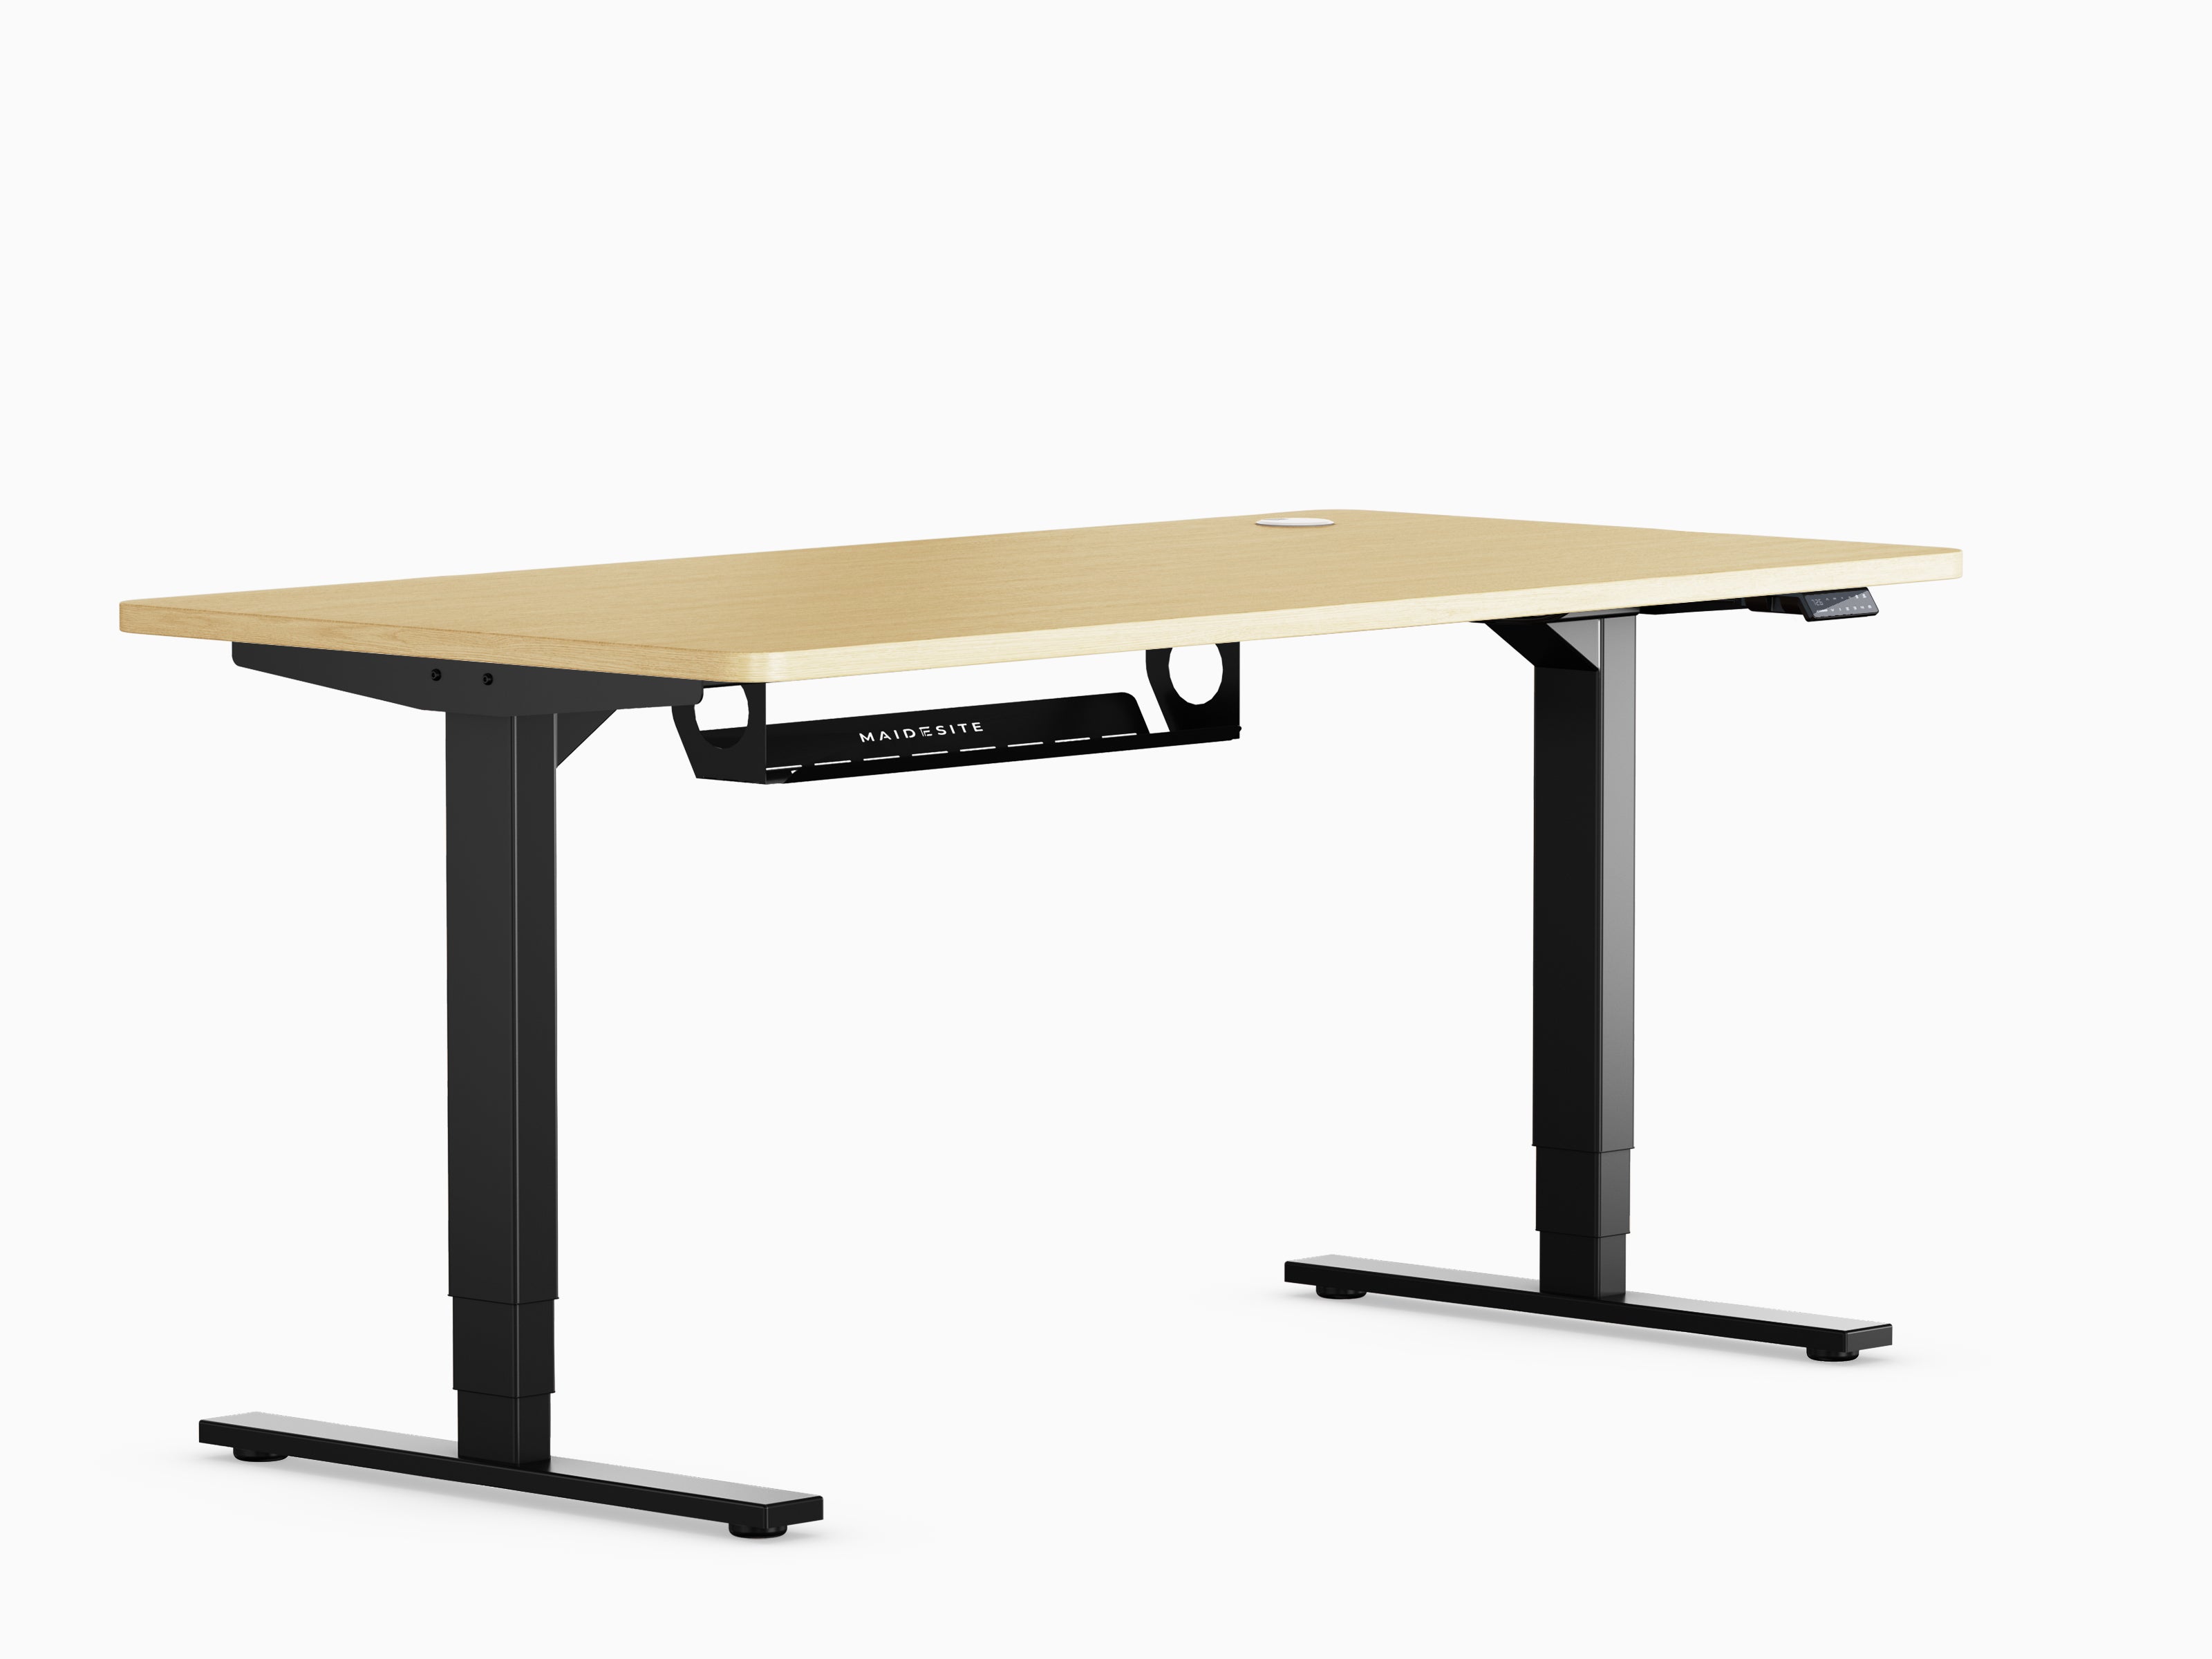
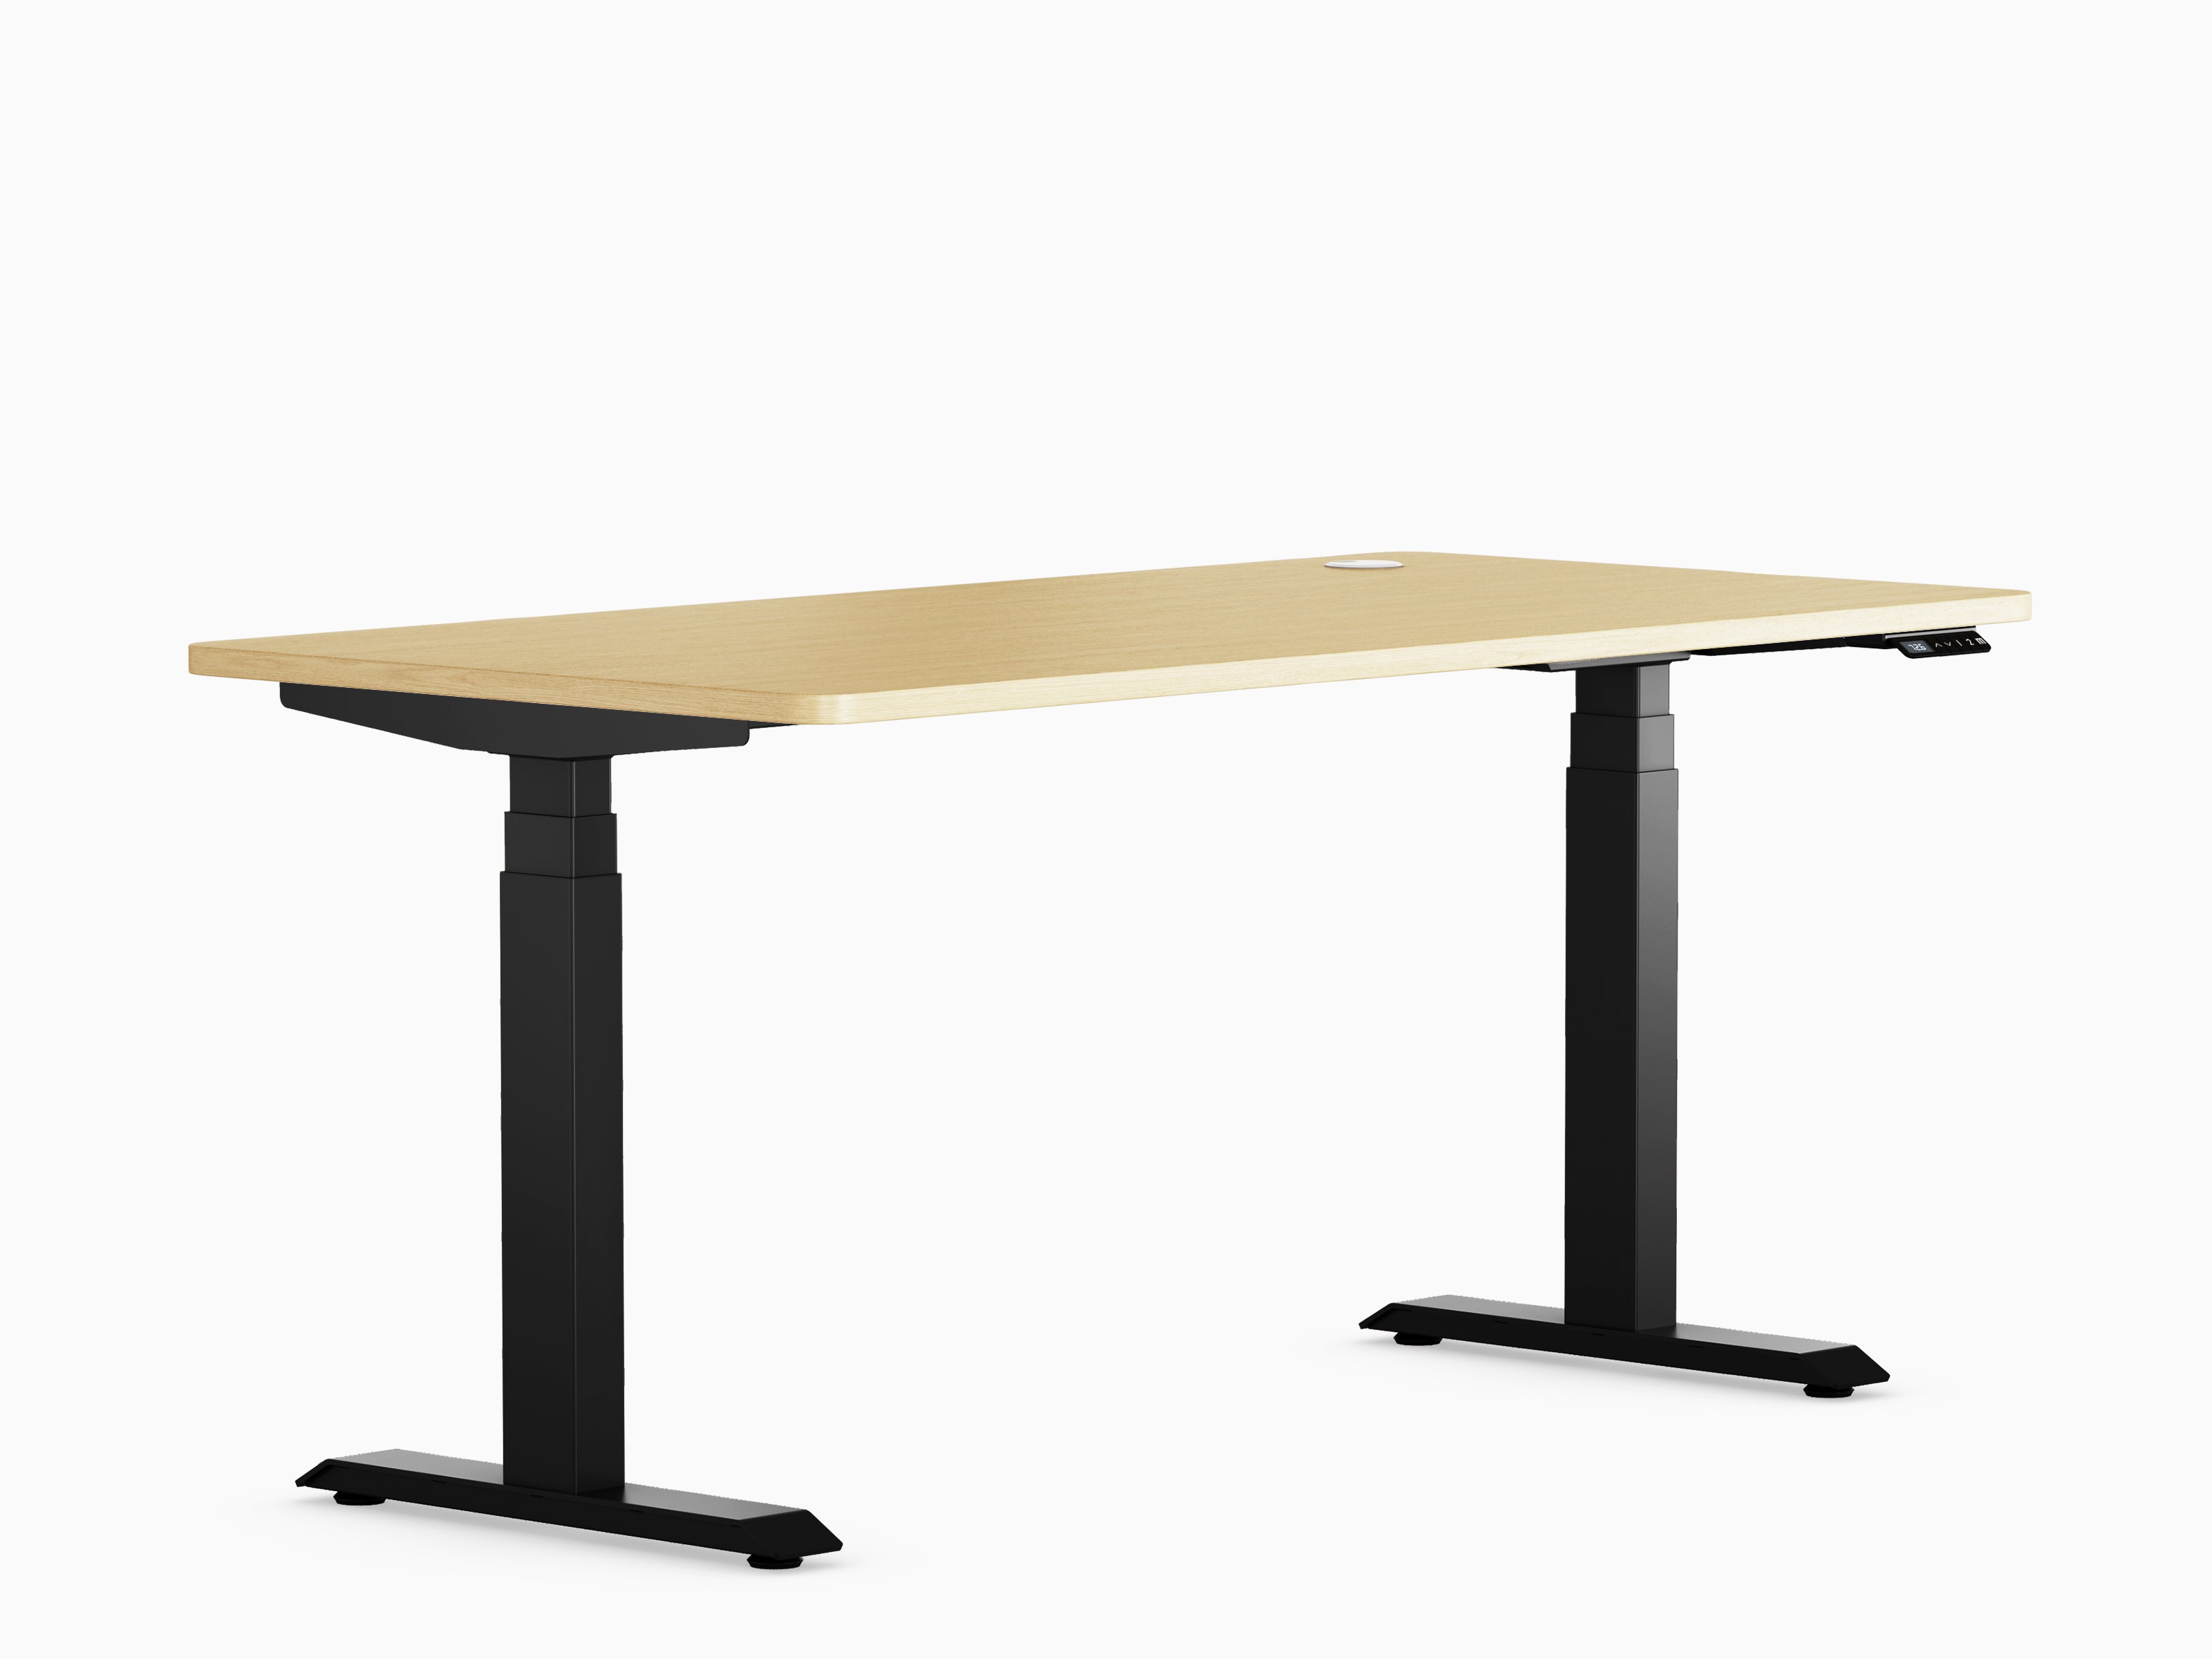
🔧 Assembly instructions
- Preparation: Place the tabletop on a soft surface (e.g., cardboard or a blanket). Gather all the parts.
- Attaching the table legs: Fix the legs to the tabletop using the included screws. Then attach the feet to the legs.
- Install the crossbar: Attach the crossbar between the table legs. Ensure it is securely fitted to guarantee stability.
- Install the control box: Attach the control box to the designated position under the tabletop. Route the cables neatly.
- Connect the hand switch: Mount the hand switch to the side under the tabletop. Connect it to the control box.
- Electrical connection: Connect all cables to the control box (motors, hand switches, power cables).
- Test run: Set up the table. Connect the power. Test whether the up and down movement works.
⚠️ Important information
- Please tighten all screws regularly.
- Only place the table on a level surface.
- Distribute the load evenly, observing the maximum load capacity.
📑 More information
How can we help you?
Live chat
Monday–Friday
7:00–16:00 (CET)

Monday–Friday
7:00–16:00 (CET)

Messenger
Monday–Friday
7:00–16:00 (CET)

Write an email
Select a concern, and we will respond as soon as possible.
